Steps to Integrate
- Log in to Twilio Console → Twilio Elastic SIP Trunking.
-
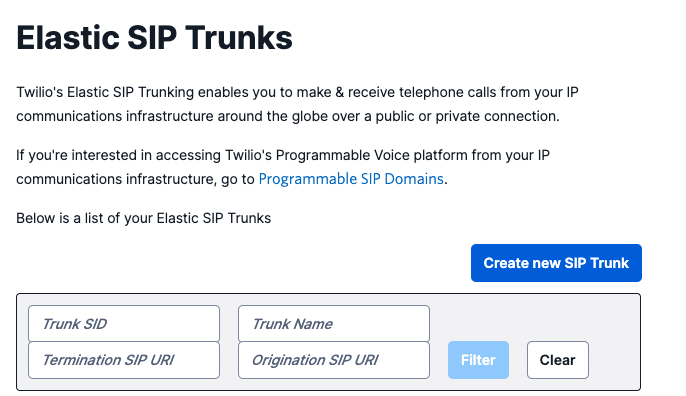
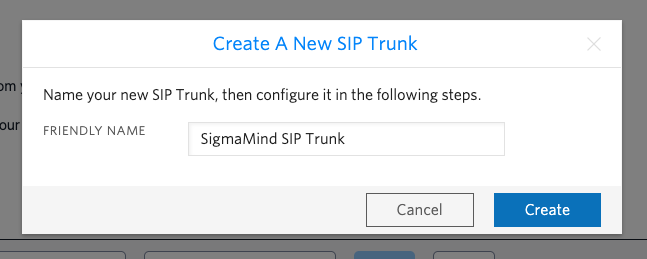
Create a New SIP Trunk
-
Go to Elastic SIP Trunks → Create new SIP Trunk.
-
Give your trunk a descriptive name (e.g., SigmaMind SIP Trunk).
-
Go to Elastic SIP Trunks → Create new SIP Trunk.
-
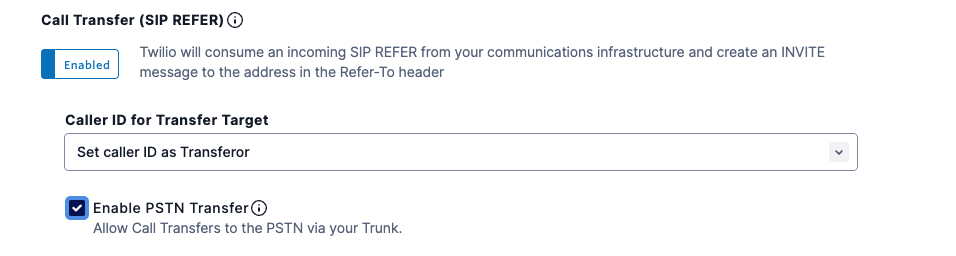
Enable Call Transfer
- In the trunk settings, enable Call Transfer to allow inbound calls.
- In the trunk settings, enable Call Transfer to allow inbound calls.
-
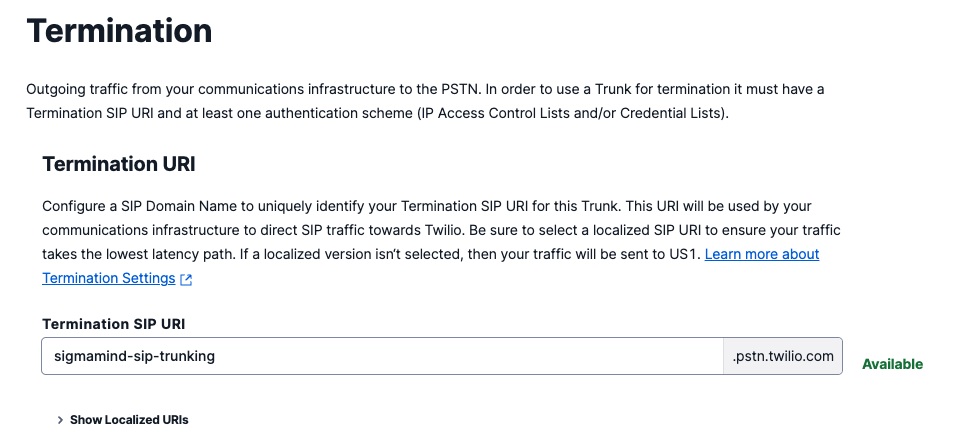
Configure Termination
- Under Termination → Termination SIP URI, enter: unique id
-
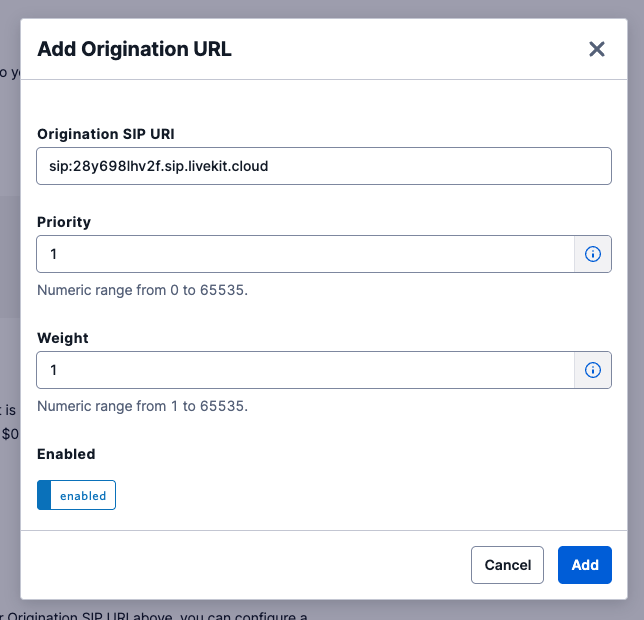
Configure Origination
- Under Origination → Origination URIs, Click on
Add new Origination URIand enter:
- Under Origination → Origination URIs, Click on
-
Configure Authentication
- Use IP Authentication or Credential Lists depending on your setup.
- Ensure that SigmaMind can authenticate calls through Twilio.
- Media Encryption: Enable SRTP.
-
Assign Numbers
- Attach your purchased Twilio number(s) to the trunk.

- Attach your purchased Twilio number(s) to the trunk.
-
Save and Test
- Save your SIP trunk settings.
- Place a test call from your Twilio number.
Verification
- Ensure the number appears in your SigmaMind Dashboard after configuration.
- Assign an Inbound Agent to the number to start receiving calls.
If you face connection issues, confirm that:
- Transport protocol matches on both sides.
- SRTP is enabled in Twilio trunk settings.