Steps to Integrate
- Log in to Telnyx Portal → Telnyx SIP Trunking.
-
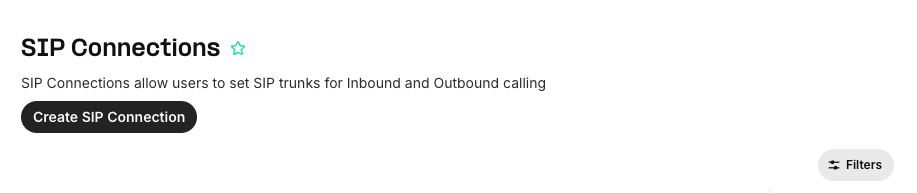
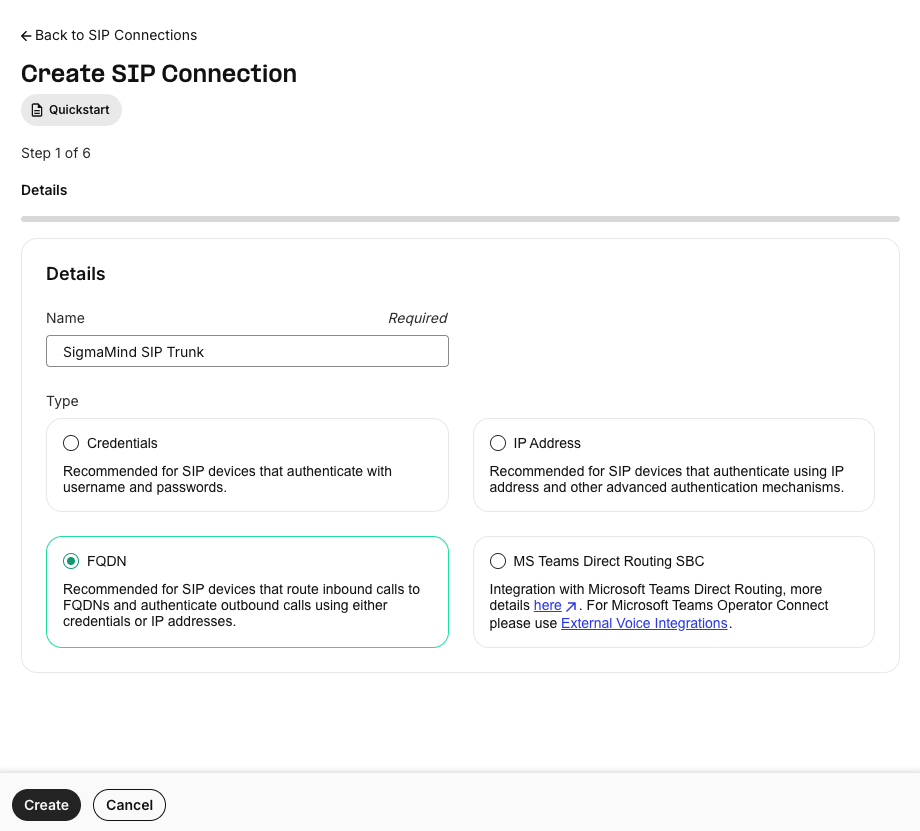
Create a New Connection
-
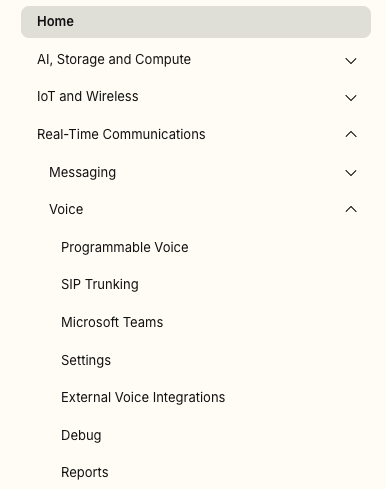
Go to Real-Time Communications -> Voice -> SIP Trunking.
-
Click on Create SIP Connection.
- Select FQDN as the connection type.
-
Name it (e.g., SigmaMind SIP Trunk).
-
Go to Real-Time Communications -> Voice -> SIP Trunking.
-
Add FQDN
- In the FQDN field, enter:
- Set the Port to
5060. - Choose the Transport Protocol (UDP, TCP, or TLS).
- Enable SIP over TLS if using TLS.

- In the FQDN field, enter:
-
Assign Numbers
- Attach your purchased Telnyx number(s) to this connection.
-
Termination URI
- Use the Termination URI provided by Telnyx.
-
Transport & Encryption
- Allowed Transports: UDP, TCP, TLS.
- Media Encryption: Enable SRTP.
-
Save and Test
- Save your configuration.
- Place a test call to confirm SIP trunking works.
Verification
- Ensure the number is visible in your SigmaMind Dashboard.
- Assign an Inbound Agent to receive calls on this number.
Telnyx offers advanced SIP features such as mutual TLS and static IP auth.
Since SigmaMind does not currently support static IP whitelisting, use SIP URI with SRTP for connectivity.